How To Create a Tempo Map in Pro Tools
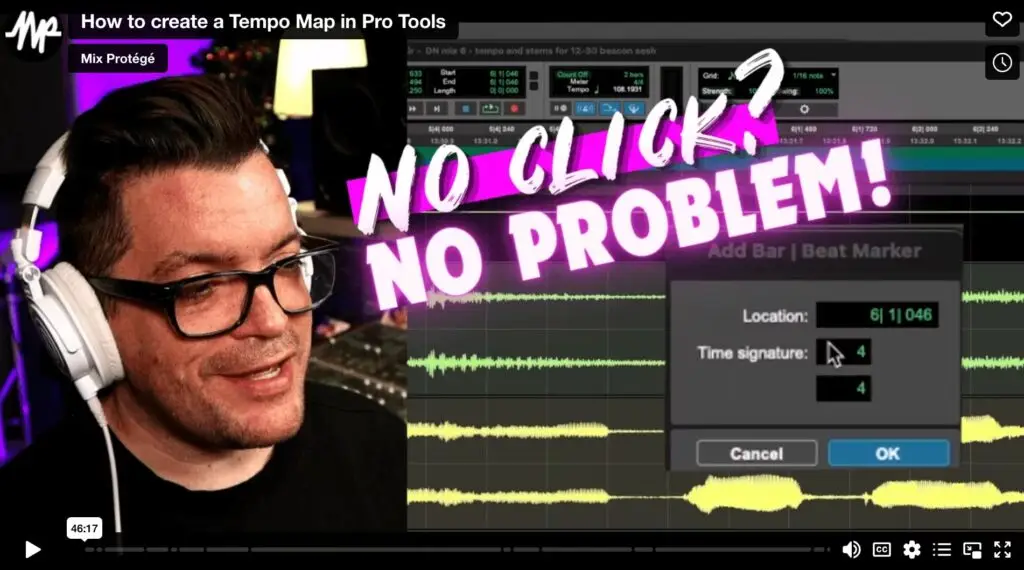
In this video I’ll show how I create a tempo map in Pro Tools to sync with a natural, non-clicked recording. Watch my entire tempo mapping process as I prepare for overdubs on a song by singer-songwriter, Zelda.
Topics & Techniques Covered In This Video:
- Creating a loop to establish initial tempo [01:05]
- Duplicating backwards to create space for count-in [03:40]
- Creating a click track to audition tempo changes [05:11]
- Renumbering bars [05:43]
- Identify Beat to correct click drift [07:23]
- Creating anchor points before additional tempo changes [10:11]
- A perfect example of why NOT to perform to a click [25:52]
- How to get all my Natural Vocal Production secrets! [26:28]
- Enabling pre-roll to double-check previous tempo changes [28:13]
- Dragging beat markers for fine-tune adjustments [35:18]
- Using volume automation to prevent headphone click bleed [45:06]
Why Would You Ever Record Without a Click?
Recording an artist’s performance without a click track allows me to capture the natural essence and spontaneity of their music, and is how I begin every new session. After all, why force an artist to play to a click if it’s not needed?
Each time an artist performs their song without a click (especially when it’s their first time performing it that day) I get a glimpse into not just the song but also the artist’s emotional state.
If the they had a chill morning they might play more slowly, more gently; if they’re anxious about an upcoming concert on the other hand they might play faster or more aggressively. Free from the confines of a click track, the song becomes a vehicle of artistic expression rather than a task to be completed accurately.
Performing without a click also provides leeway for the artist to speed up a bit in the choruses or slow down in the bridge, or perhaps add a dramatic pause or ritard leading into the breakdown section. None of these expressive options are possible when tracking to a static tempo click.
Now, I hear you thinking:
"Yes, but ... when it comes to adding additional elements like drums and bass later on, I know those musicians will want a click track. What then?!"
The Importance of Tempo Mapping
Key Steps in Tempo Mapping
- Establishing a Baseline Tempo: Listening to the recording and identifying key transients or accents to determine the initial tempo.
- Marking Specific Points: Using tools like Tab to Transient and Identify Beat to mark specific beats and accents in the recording, ensuring accurate tempo mapping.
- Adjusting Tempo: Toggling between slip and grid modes to make precise adjustments to the tempo, maintaining the natural feel of the performance.
- Finalizing the Tempo Map: Fine-tuning the tempo map to seamlessly sync with the artist's performance, ensuring consistency throughout the song.
Challenges and Solutions
Finger Tapping:
Half-Speed Playback:
A good rule of thumb is to use as few tempo changes as needed when creating your tempo map
The Benefits of Tempo Mapping
Heads up!
Building a tempo map takes time, so it’s a good idea to make sure all comping and editing of the non-clicked performance is completed before you begin mapping.
If you’d like to learn my complete process for comping, editing, tuning, mixing and mastering non-clicked performances like this one, my Natural Vocal Production course has everything you need to master these skills like a pro!
You can even download a FREE 10-minute sample lesson … just fill out the form below and it’s yours!
Special thanks to Zelda, whose music is featured in this tempo mapping video! Be sure to follow her on Instagram @officiallyzelda and on TikTok @officiallyzelda
Learn more about me, and hire me to produce, record, and/or mix your next project at www.dananielsen.com

Responses