PREP SCHOOL
- 
								MixPrep Process 1: Starting from Multi-Track Stems1. Organizing Files and Folders
- 
								MixPrep Process 2: starting from an Existing Pro Tools Session2. Creating the Pro Tools Session
- 


																		3. Preferences and Track Colors1 Quiz
- 
								
								
																		4. Track Layout
- 
								
								
																		5. Track Names
- 
								
								
																		6. Mapping the Tempo
- 
								
								
																		7. Strip Silence
- 
								
								
																		8. Routing Print Tracks
- 
								
								
																		9. Submasters and Stems
- 
								
								
																		10. Creating Custom FX Presets
- 
								
								
																		11. VCA
- 
								
								
																		12. D Command and the Finished Product
- 
								
								
																		13. Save As
- 
								LIVESTREAMS10-19-23 LIVE Mixing and Editing - Acoustic Pop Singer-Songwriter [PS]
2. Creating the Pro Tools Session
Step 1
Create a new Pro Tools session.
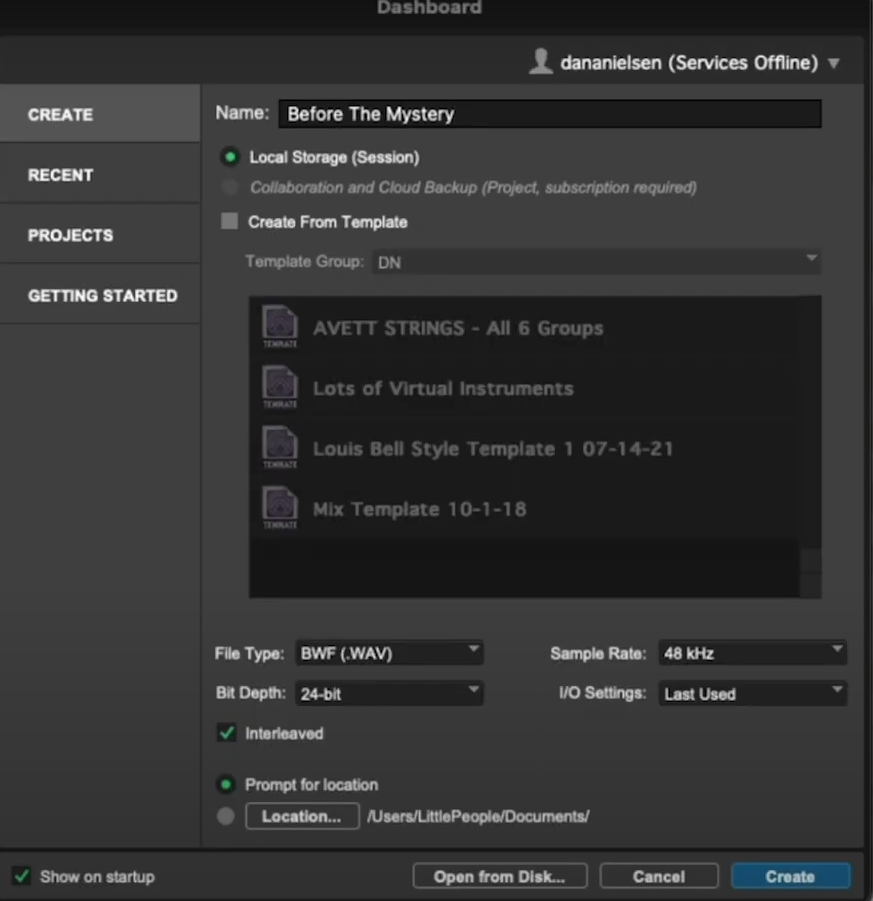
Step 2
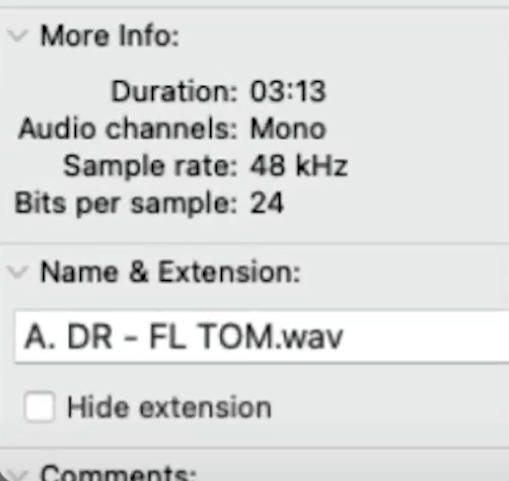
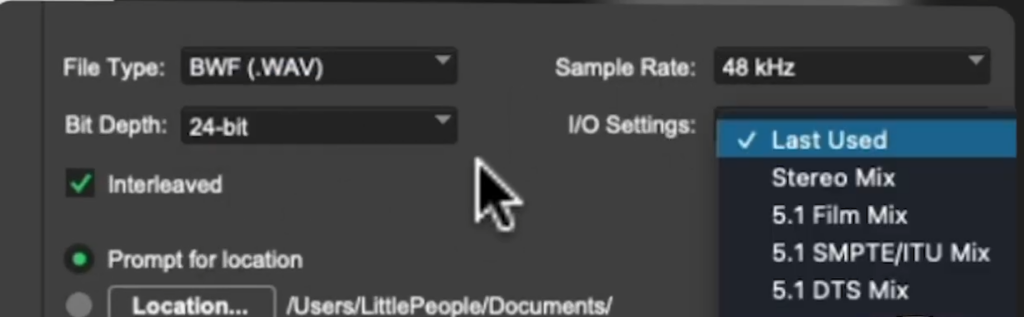
Choose Pro Tools session settings to match the stems file type and audio resolution


Step 3
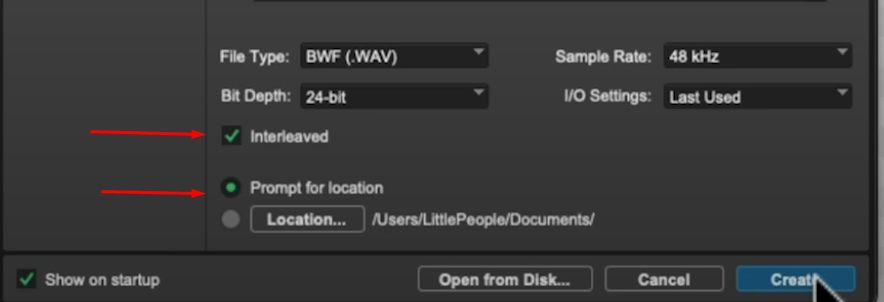
Select stereo “Interleaved” and “Prompt for Location” – Hit Create

Step 4
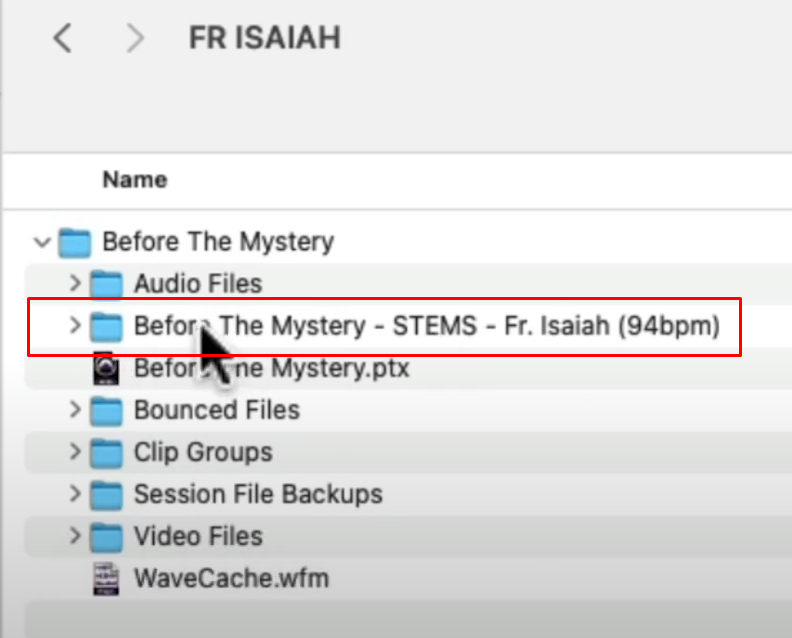
Save the session inside the master project folder alongside the stems folder
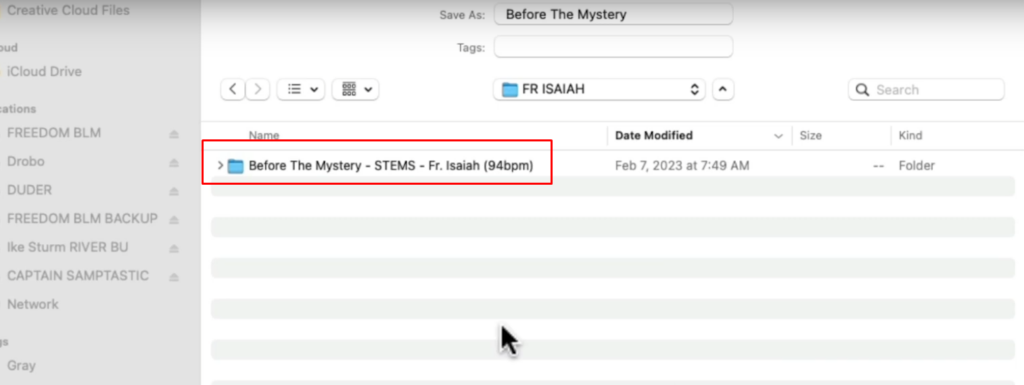
Step 5
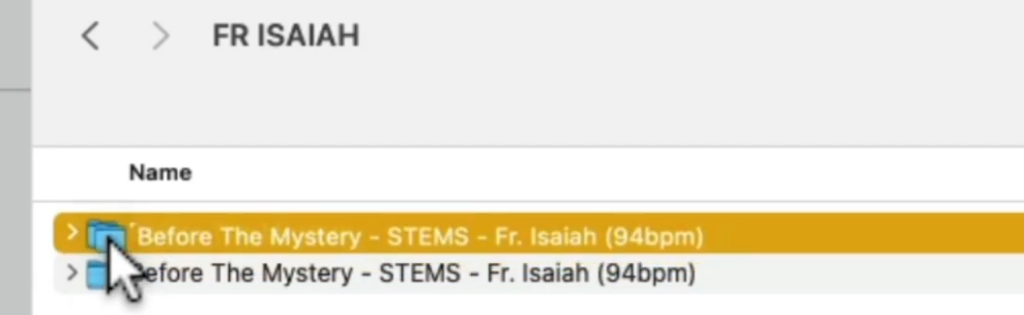
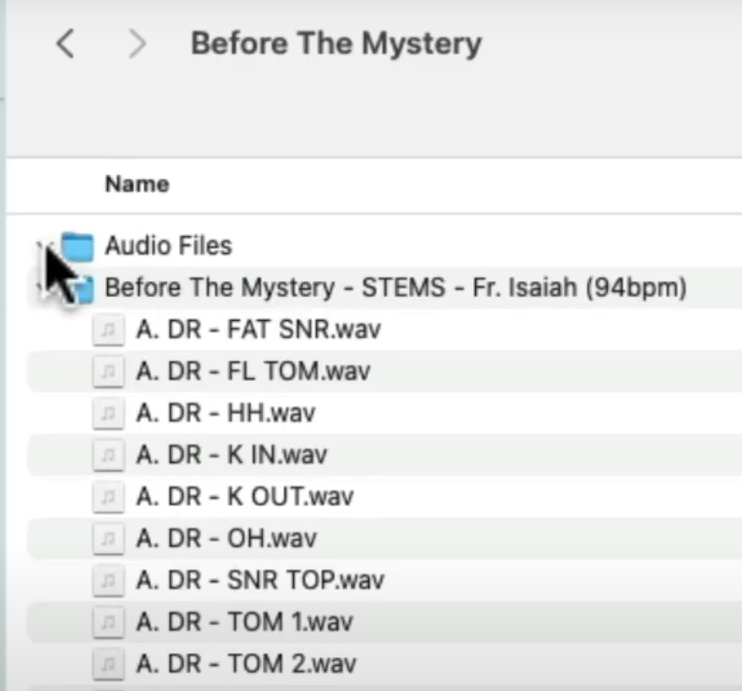
Move the stems folder into its corresponding song folder alongside the Pro Tools session


Step 6
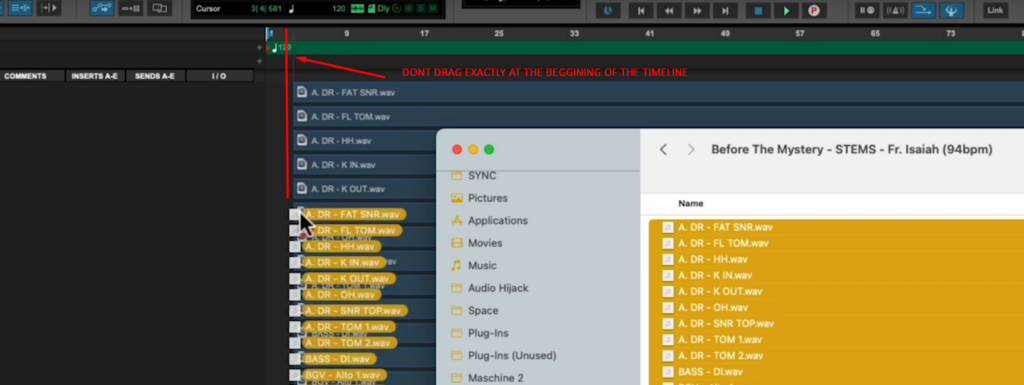
Grab all the stems. Hit command + a to select all the stems and drag them onto the Edit Window timeline. Position near but not exactly at the beginning of the timeline. Don’t drag stems to 0:00.

Step 7
Verify the Audio Files folder is still empty and no duplicate files have been created

Keyboard shortcuts, track presets, Pro Tools session, I/O Settings, and more available in the PREP SCHOOL Toolkit (available in chapters 3 through 13 with course purchase)


Responses